1. Introduction and Features
The PAC RP4-CH11 interface allows for the seamless replacement of a factory radio in select Chrysler, Dodge, and Jeep vehicles equipped with MSCAN or LSFT-CAN databus radios. This interface is designed to retain essential factory features such as steering wheel controls (SWC), vehicle entertainment system (VES), and the factory audio amplifier when the original radio is removed. It also provides data bus driven outputs including retained accessory power (RAP), vehicle speed sensor (VSS), illumination, reverse trigger, and parking brake signals.
This interface also enables programming of two radio functions to each SWC button using short press/long press dual command functionality.
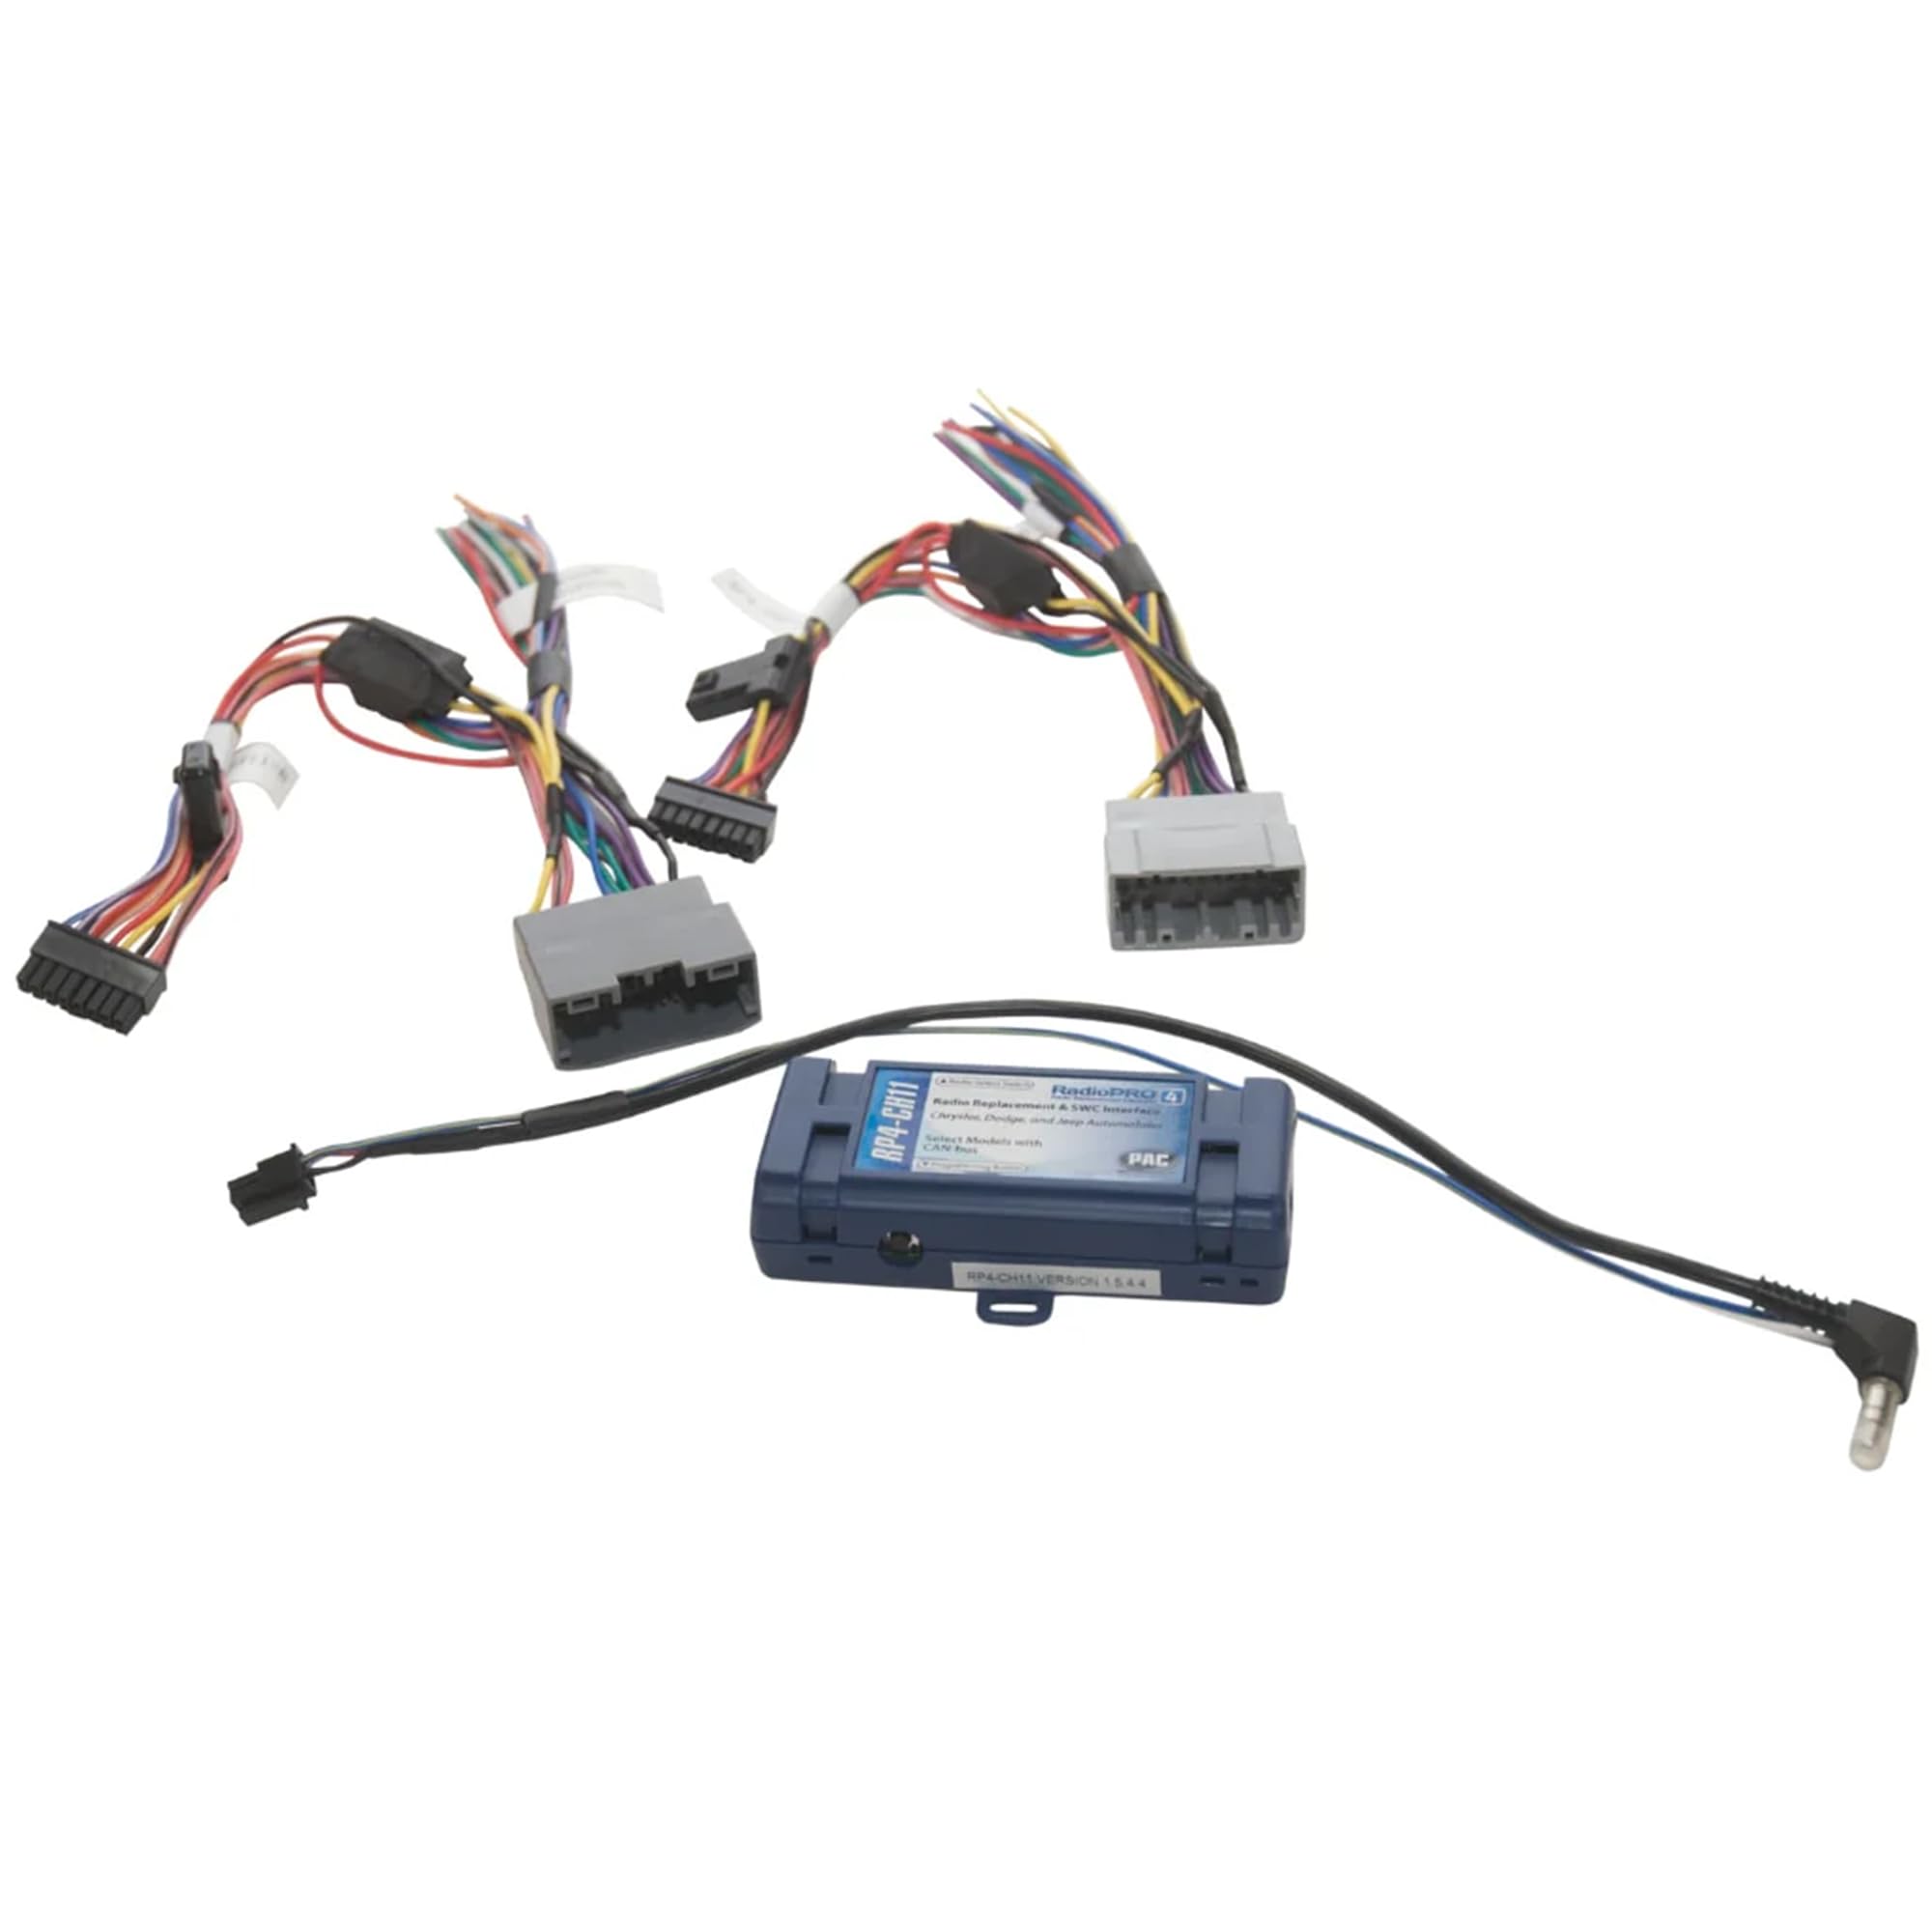
Image 1: The PAC RP4-CH11 RadioPro4 interface module. This blue module is the core component for integrating aftermarket radios with vehicle systems.
2. Përputhshmëria e automjeteve
The RP4-CH11 is compatible with a range of Chrysler, Dodge, Mitsubishi, Ram, and Volkswagen vehicles. Please refer to the detailed compatibility chart below to confirm your vehicle's make, model, and year.

Image 2: A detailed chart listing compatible vehicle makes, models, and years for the PAC RP4-CH11 interface.
3. Mbi instaliminview
Installation of the RP4-CH11 involves connecting the interface to both the aftermarket radio and the vehicle's factory wiring harness. Proper wiring and configuration are crucial for retaining factory features and ensuring correct functionality of steering wheel controls and other data bus outputs.

Image 3: Various wiring harnesses included with the PAC RP4-CH11, showing connectors for the interface, vehicle, and aftermarket radio.
4. Wiring Connection Chart
Refer to the following chart for detailed wiring connections between the RP4-CH11 interface, the vehicle connector, and the steering wheel control (SWC) connector. Ensure all connections are secure and correctly matched according to the wire color and function.

Image 4: A table detailing the wire connections for the PAC RP4-CH11, showing corresponding functions for the interface, vehicle, and SWC connectors.
5. Hapat e instalimit
- Set Radio Select Switch: Before plugging the interface into the vehicle, adjust the rotary switch on the side of the interface to the proper radio setting. Use a small flathead screwdriver or a bent paperclip to turn the dial. Refer to the chart below for the correct setting for your aftermarket radio.

Image 5: A diagram showing the rotary switch on the PAC RP4-CH11 module and the corresponding settings for various aftermarket radio brands.
- Lidhja e parzmores: Make all connections as described in the wiring connection chart.
- For vehicles without a factory amplifier: Connect the aftermarket radio's front and rear speaker wires to the vehicle connector.
- Për automjete me fabrikë amplifier: The factory amplifier only accepts two input channels (left and right). Connect the front outputs of the aftermarket radio to the rear inputs of the vehicle connector. This will allow navigation voice prompts and Bluetooth calls to be heard. The rear speaker outputs of the aftermarket radio are not used. Fading is not supported in this application. The factory amplifier's fading is controlled by data communication from the factory radio. Neither the aftermarket radio nor the RP interface has the ability to control the amplifier's fader.
- SWC Connection: Lidhni telin SWC sipas grafikut në faqen 1 (radioja e tregut DUHET të mbështesë një hyrje me telekomandë me tela).
- Programimi: If you wish to re-assign SWC functions or utilize short press/long press dual command functionality, follow the programming instructions in the "Steering Wheel Control Programming" section.
6. Steering Wheel Control Programming
E RËNDËSISHME! The interface comes pre-programmed for all of the vehicle's factory SWC functions and does not require programming unless you wish to re-assign the SWC functions or utilize short press/long press dual command functionality. The SWC can always be restored to default settings by pressing and releasinShtypni një herë butonin e programit në anën e ndërfaqes dhe prisni 7 sekonda që LED të ndizet 4 herë.
Detyrat e parazgjedhura të butonave SWC
The default assignments are typically as follows, but may vary slightly by vehicle and radio brand:

Image 6: A table showing the default assignments for steering wheel control buttons across various radio brands.
Optional SWC Programming
If you wish to re-assign the SWC functions or utilize short press/long press dual command functionality, the interface must be programmed in the specific order shown on the chart below. If you come across a function in the chart that your steering wheel does not have, or you do not want to program, press and release the program button on the side of the interface to skip that function. The LED will flash off and on confirming that you have successfully skipped that function and are ready to proceed to the next one.
- Kthejeni çelësin në pozicionin e ndezjes.
- Shtypni dhe lëshoni butonin e programimit në anën e ndërfaqes.
- Brenda 7 sekondave, shtypni butonin që duhet mësuar në timon. LED do të fiket kur të shtypet butoni. Në këtë pikë keni dy opsione:
- A. Për funksionalitetin e shtypit të shkurtër: Lëshojeni butonin brenda 1.5 sekondash. LED do të ndizet përsëri.
- B. Për funksionimin e shtypjes së gjatë: Mbajeni butonin derisa LED të fillojë të pulsojë. Lëshojeni butonin dhe LED do të kthehet në gjendje të fortë.
- Nëse keni nevojë të programoni më shumë butona, përsëritni hapin 3 për çdo funksion shtesë audio në timon.
- Nëse hasni në një funksion në grafik që timoni juaj nuk e ka, ose nuk dëshironi ta programoni, shtypni dhe lëshoni butonin e programit në anën e ndërfaqes për ta kapërcyer atë funksion.
- Pasi të përfundojë programimi, prisni shtatë sekonda. LED do të pulsojë tre herë duke treguar përfundimin e programimit.
- Testoni ndërfaqen për funksionalitetin e duhur. Sa herë që shtypet një SWC, LED në ndërfaqe duhet të pulsojë. Nëse ndonjë funksion nuk funksionon, përsëritni hapat e programimit.
7. Testing and Verification
- Ndizni ndezjen. LED në ndërfaqe do të ndizet dhe teli shtesë +12v do të ndizet.
- Aktivizoni radion dhe kontrolloni ekuilibrin dhe zbehet. Shënim: Fabrika ampSistemet e ngurtësuara nuk do të zbehen pasi as radioja pas tregut ose ndërfaqja RP nuk kanë aftësinë për ta kontrolluar atë amplifier's fader.
- Verifikoni që subwoofer-i i fabrikës (nëse është i pranishëm) po luan.
- Verifikoni që të gjitha QPS-të funksionojnë siç duhet.
- Turn off vehicle and remove key. RAP will be active and keep the radio on for 10 minutes or until the driver's door is opened.
- The LED and radio will turn off when RAP turns off or the driver's door is opened.
PLEASE NOTE: If after installation, the text on the driver information center has changed to German, you will need to visit a dealer and change the vehicle's country code to U.S.A.
8. Vehicle Entertainment System (VES; if equipped)
- Vehicles equipped with a DVD player built into the rear screen assembly: The RP4-CH11 will allow the VES DVD player and rear screen to function as if the factory radio were present. A/V will be passed from the factory DVD player to the rear screen and audio can be heard through the headphones. A/V cannot be passed from the factory DVD player to the aftermarket head unit.
- Vehicles equipped with a stand alone VES DVD Player: The RP4-CH11 will allow the VES DVD player and rear screen(s) to function as if the factory radio were present. A/V will be passed from the factory DVD player to the rear screen(s) and audio can be heard through the headphones. A/V can also be fed from the VES DVD player into an aftermarket head unit (head unit must support A/V in) with the use of the CHRYRVD (please check vehicle compatibility). It is VERY IMPORTANT that the RP4-CH11 Blue/White remote input wire be connected for this feature to function properly!
- Vehicles not equipped with a VES DVD Player (rear screen(s) only): In this application the CHRYRVD (please check vehicle compatibility) must be used in order to feed A/V into the factory screen(s) from an aftermarket head unit (head unit must support A/V out). With the CHRYRVD, A/V will be passed from the aftermarket head unit to the rear screen(s) and audio can be heard through the headphones. If you wish to retain the Auxiliary inputs on the rear of the console you must disconnect the factory wires from the auxiliary input then connect and run your own RCAs into the aftermarket head unit.
- Vehicles equipped with a Reverse Camera: In order to retain the factory reverse camera the CHRYRVD (please check vehicle compatibility) must be used to feed video into the aftermarket head unit (head unit must support reverse camera input).
9. Specifikimet
- Pesha e artikullit: 9.9 ons
- Dimensionet e produktit: 1 x 4 x 1.5 inç
- Numri i modelit: RP4-CH11
- Garancia: 1 vit
10. Product Updates (Firmware)
The RP4-CH11 can be updated with new firmware as it becomes available using the PAC-UP interface updater (sold separately). Please visit www.pac-audio.com/firmware për përditësimet e disponueshme.
11. Informacion mbi sigurinë
KUJDES: Ky produkt përmban kimikate të njohura nga Shteti i Kalifornisë për të shkaktuar kancer dhe defekte të lindjes ose dëmtime të tjera riprodhuese.