1. Hyrje
This manual provides detailed instructions for the installation, operation, and maintenance of your GAOMON 24000 BTU 19 SEER2 Mini Split AC System. This high-performance inverter system offers efficient cooling and heating for spaces up to 1500 sq.ft, featuring Wi-Fi connectivity, remote control, and low-noise operation. Please read this manual thoroughly before installation and use to ensure proper function and safety.
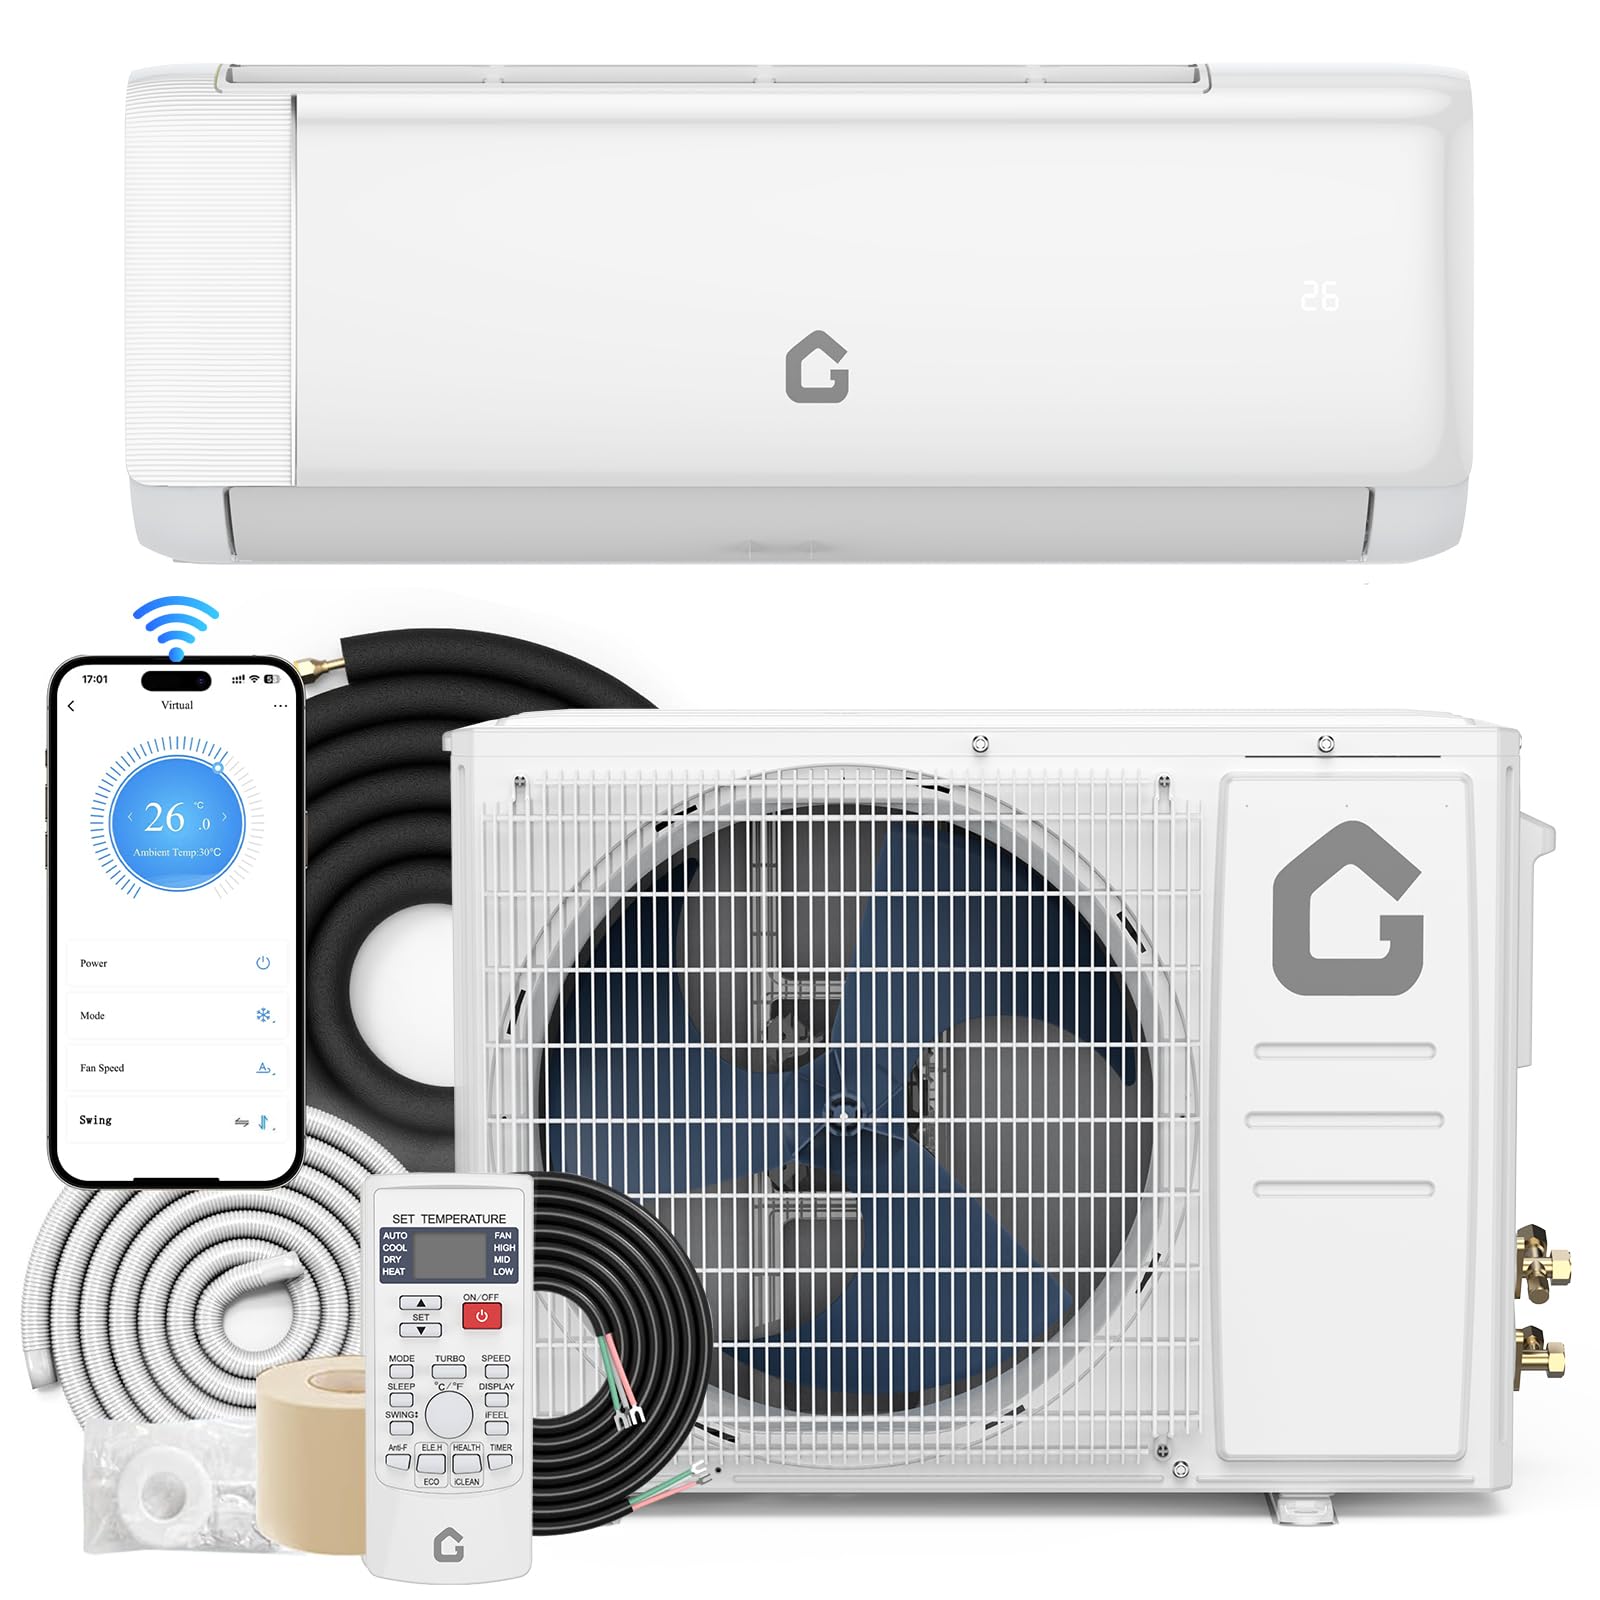
Figure 1: GAOMON 24000 BTU Mini Split AC System
2. Informacion mbi sigurinë
WARNING: Professional installation is required for this system. Improper installation can lead to electric shock, fire, or serious injury.
- Always ensure the power supply is disconnected before performing any installation or maintenance.
- Wear appropriate personal protective equipment (PPE) during installation, including safety glasses, gloves, and a helmet if working at heights.
- Sigurohuni që të gjitha lidhjet elektrike të jenë në përputhje me kodet dhe rregulloret lokale.
- Mos u përpiqni ta riparoni ose modifikoni vetë njësinë. Kontaktoni personelin e kualifikuar të shërbimit.
- Mbajini fëmijët dhe kafshët shtëpiake larg njësisë gjatë funksionimit dhe mirëmbajtjes.
Videoja 1: Kjo video ofron një përmbledhje të përgjithshmeview of the installation process for the Mini Split AC Unit, highlighting necessary tools and safety precautions.
3. Përmbajtja e paketës
The GAOMON Mini Split AC system is shipped in two packages. Please verify all components are present upon delivery:
- 1 x Njësi e Jashtme
- 1 x Njësi e Brendshme
- 1 x Tub Lidhës Bakri 13 ft - Tub Ajri
- Tub Lidhës Bakri 1 x 13 ft - Tub Lëngu
- 1 x Tub Kullimi 6.5 ft
- 1 x 13 ft Communication Wires
- 1 x Telekomandë
- 1 x Udhëzues përdorimi
Note: Shut-off valves housing and side protection grille are excluded. The air filter is washable and easy to clean.

Figure 2: Visual representation of the components included in the GAOMON Mini Split AC package.
4. Specifikimet
| Veçori | Vlera |
|---|---|
| Numri i modelit | PHO_163 |
| Dimensionet e produktit | 42.87 x 22.44 x 39.37 inç |
| Pesha e artikullit | 82 paund |
| Markë | GAOMON |
| Faktori i formës | Mini-Ndarje |
| Kapaciteti | 1500 Këmbë kub |
| Mbulimi i sipërfaqes së dyshemesë | Deri në 1500 metra katrorë |
| Vëlltage | 230 volt |
| Niveli i zhurmës | 42 Decibel |
| Fuqia Ftohëse | 24000 Njësi Termike Britanike (BTU) |
| Raporti i Efiçiencës së Energjisë Sezonale (SEER) | 19 |
| Karakteristika të veçanta | Auto Clean, Heating & Cooling Function, Silent Mode, Sleep Mode, WiFi Enabled |

Figure 3: Detailed dimensions and key specifications of the GAOMON Mini Split AC System.
5. Udhëzuesi i instalimit
Professional installation is strongly recommended for this appliance.
5.1. Përgatitja
Mjetet dhe Materialet e nevojshme
- Sharrë vrimë
- Multimetër
- Prerës tubash
- Çelësat gjashtëkëndor
- Ftohës (R410A)
- Pikëllim rrotullues
- Pikëllim i rregullueshëm
- Kasetë matës
- Matës presioni
- Safety belt (for high installations)
- Mjet ndezës
- Mbështetëse (për njësinë e jashtme)
- Niveli
- Phillips kaçavidë
- Elektrosondë
- Pompë vakum
- Pincë
- Copper tube (if extending lines)
Environmental Checks
- Ensure there is no heat source or steam source near the installation area.
- Avoid obstructions around the inlet and outlet of both indoor and outdoor units.
- The area should be free from smoke or oil.
- Do not install in areas with flammable or explosive gas, or corrosive gas.
5.2. Instalimi i njësisë së brendshme
Zgjidhni Vendin e instalimit
- The wall for the indoor unit must be hard, flat, and firm to prevent vibration and noise.
- Maintain a minimum clearance of 15cm to the ceiling.
- Maintain a minimum clearance of 20cm to obstacles on either side.
- The unit should be installed between 230-260cm from the floor.
Rregulloni pllakën e montimit
Place the mounting plate on the wall and use a level to ensure it is horizontal. Select the position for at least 5 screws to firmly fix the plate.
Stërvitni vrimën e murit
After determining where the pipe will go through the wall, drill a wall hole. The wall hole should be inclined outward by 5-10 degrees, with a diameter of 60-80mm. Use an anti-dust bag to avoid dust when drilling.
Install Connection Cable
Kaloni kabllon e energjisë nga pjesa e pasme e njësisë së brendshme dhe fiksojeni atë në pllakën e terminalit. Fiksoni kabllon me një mbërthim.amp. Remove the knock-out panel with a knife and remove burrs to prevent the drain pipe from being broken.
Connection of Refrigerant Piping
Use both hands to turn the pipe in the desired direction. Aim at the pipe center, tighten the taper nut with fingers, then tighten with two wrenches. Use a torque wrench for precise tightening according to the pipe size (refer to the table in the installation video).
Instaloni zorrën e shkarkimit
Lidhni tubin e kullimit me tubin e daljes së ujit dhe fiksojeni fort me shirit ngjitës. Gjatësia duhet të jetë më shumë se 5 cm për të parandaluar rrjedhjen e ujit.
Mbështillni tubacionin
Wrap the refrigerant piping, wires, and drain pipe with wrapping tape.
Njësia e brendshme e montimit
Put the refrigerant piping out of the wall hole. Put the indoor unit on the mounting plate. Push the lower part of the indoor unit until a 'click' sound is heard to ensure it is firmly fixed to the wall.
Pipe Protecting Ring and Putty
To protect piping and wires, a pipe protecting ring shall be installed and sealed with putty.
5.3. Instalimi i njësisë së jashtme
Zgjidhni Vendin e instalimit
The outdoor unit must be installed in a firm and flat place to prevent vibration and noise.
- Maintain a minimum clearance of 20cm to the obstruction above.
- Maintain a minimum clearance of 30cm to obstacles on the left and right sides.
- Maintain a minimum clearance of 10cm for air intake on the right side.
- Maintain a minimum clearance of 200cm for air exhaust in front.
Install Outdoor Unit Bracket
If installing the air conditioner in a higher place, the operator should wear a safety belt and helmet. Use a level to ensure the bracket is horizontal and vertical. Use at least 6 expansion bolts to make sure brackets are fixed firmly on the wall.
Rregulloni njësinë e jashtme
Vendosni njësinë e jashtme në kllapa. Përdorni 4 vida për të fiksuar këmbët e njësisë së jashtme.
Lidhni tubacionet e ftohësit
Remove the nut from the stop valves. Aim at the pipe center of the stop valve, tighten the taper nut with fingers, then tighten with two wrenches. Screw the 2 caps back on. Use a torque wrench for precise tightening according to the pipe size (refer to the table in the installation video).
Fshesë me korrent
Before vacuuming, check all the nuts of the indoor and outdoor unit are tightened. Connect the stop valve, charging hose, manifold valve, and vacuum pump as shown in the diagram (refer to the installation video). Turn on handle Lo to vacuumize. Vacuumize for at least 15 minutes, making sure the value on the pressure gauge is ≤0.1MPa. Keep pressure for 3-5 minutes after vacuumizing, ensuring pressure springback is ≤0.05MPa. Open the 1/4 liquid valve, and remove the charging hose.
Fix Cables
Remove the electrical box cover. Fix cables to the terminal board according to the wiring diagram on the E-parts cover. Must follow the wiring diagram inside the box cover. Use a clamp to fix cables. Put the electrical box cover back.
Refrigerant Adjustment
When the length of the connecting pipe is changed, an extra amount of refrigerant may need to be added or reduced to ensure optimal operation and performance.
| Gjatësia e tubit të lidhjes | Ftohës i shtuar ose i reduktuar | Sasia e ftohësit për njësinë |
|---|---|---|
| <3 m | CC≤12000Btu: reduce 20g/m | ≤1 kg |
| CC≥18000Btu: reduce 50g/m | ≤2 kg | |
| 3-5 m | Nuk nevojitet | - |
| 5-15 m | CC≤12000Btu: add 20g/m | ≤1 kg |
| CC≥18000Btu: add 30g/m | ≤2 kg |
Video 2: This video demonstrates the complete installation process for the Mini Split AC Unit, including both indoor and outdoor components.
6. Udhëzimet e funksionimit
6.1. Funksionet e telekomandës
The backlit LCD remote controller allows effortless system control. Key functions include:
- Modaliteti i ftohtë: Për ftohje të shpejtë.
- Mënyra e ngrohjes: For rapid heating.
- Modaliteti i thatë: One-key drying mode to quickly reduce indoor humidity.
- Vetëm tifozët: Low, Mid, High, Turbo 4 wind speeds with 50ft long distance air flow.
- Modaliteti automatik: Automatically selects operating mode based on ambient temperature.
- Ekrani Ndez/Fikur: Controls the unit's display.
- Modaliteti i gjumit: Adjusts temperature and fan speed for comfortable sleep and quiet operation (41 dB).
- ECO Energy Saving Mode: Optimizon funksionimin për konsum të reduktuar të energjisë.
- HEALTH Mode: Activates negative ions, electrostatic dust removal, and PM2.5 removal.
- iFEEL Mode: Senses temperature at the remote control's location for precise comfort.
- 24-hour Timer: Programoni oraret e ndezjes/fikjes.
- Lëkundje Automatike 4D: Siguron shpërndarje të barabartë të ajrit.

Figura 4: Mbiview of the remote control and its various functions.
6.2. Wi-Fi Setup and Smart Control
The unit is Wi-Fi enabled and Google-compatible, allowing control via a smartphone app.
Video 3: This video demonstrates the process of setting up Wi-Fi connectivity for your Mini Split Air Conditioner, enabling smart control via an app.

Figure 5: The mobile application interface for intelligent control of the AC unit, compatible with Amazon Alexa and Google Assistant.
7. Mirëmbajtja
7.1. Pastrimi i filtrit të ajrit
The air filter is washable and easy to clean. Regular cleaning of the air filter is essential for maintaining optimal performance and air quality. Refer to the full user guide for detailed instructions on how to remove, clean, and reinsert the air filter.
7.2. Funksioni i Vetëpastrimit
The unit features an automatic defrosting and self-cleaning function to maintain internal hygiene and efficiency. This includes a 57°C high-temperature self-cleaning and sterilization process.

Figure 6: Illustration of the 57°C high-temperature self-cleaning and sterilization process.
8. Troubleshooting
If you encounter any issues with your GAOMON Mini Split AC System, please refer to the following common problems and solutions before contacting customer support:
- Njësia nuk ndizet: Check power supply, circuit breaker, and ensure the remote control has working batteries.
- Pa ftohje/ngrohje: Verify the correct mode is selected, check temperature settings, and ensure air filters are clean.
- Zhurmë e pazakontë: Check for loose parts, obstructions in the fan, or improper installation of the outdoor unit.
- Rrjedhja e ujit: Ensure the drain hose is properly installed and sloped, and not blocked.
- Remote control missing: If the remote control is missing, contact customer support for a replacement.
- Probleme me lidhjen Wi-Fi: Ensure your Wi-Fi network is 2.4GHz, check router settings, and follow the app's troubleshooting steps.
For more complex issues or if the problem persists, please contact GAOMON customer support.
9. Garancia dhe Mbështetja
The GAOMON 24000 BTU 19 SEER2 Mini Split AC System comes with a Garanci gjatë gjithë jetës. For warranty claims, technical support, or any questions regarding your product, please refer to the contact information provided in your purchase documentation or visit the official GAOMON webfaqe.


