1. Hyrje
This manual provides detailed instructions for the installation, configuration, and operation of your ASRock X870 Taichi Creator Motherboard. This high-performance ATX motherboard is designed to support AMD Ryzen 9000, 8000, and 7000 Series Processors with an AM5 socket, offering advanced features for creators and enthusiasts.
2. Informacion mbi sigurinë
Please read the following safety guidelines carefully before installing or operating your motherboard to prevent damage to the product or injury to yourself.
- Gjithmonë shkëputeni kabllon e energjisë nga priza e murit përpara se të prekni ndonjë komponent.
- Wear an anti-static wrist strap to prevent electrostatic discharge (ESD) when handling components.
- Sigurohuni që të ventiloni siç duhet brenda kutisë së kompjuterit tuaj për të parandaluar mbinxehjen.
- Mbajeni pllakën amë larg lagështirës dhe temperaturave ekstreme.
- Refer to the CPU and other component manuals for specific installation instructions.
3. Përmbajtja e paketës
Verifikoni që të gjitha artikujt e listuar më poshtë janë të pranishëm në paketimin e pllakës suaj amë. Nëse ndonjë artikull mungon ose është i dëmtuar, kontaktoni shitësin tuaj.
- Pllaka amë ASRock X870 Taichi Creator
- Udhëzues i instalimit të shpejtë
- Njoftimi Rregullues
- Kabllo të dhënash SATA
- Antenë Wi-Fi
- Vida dhe mbështetëse M.2
- ASRock Graphics Card Holder
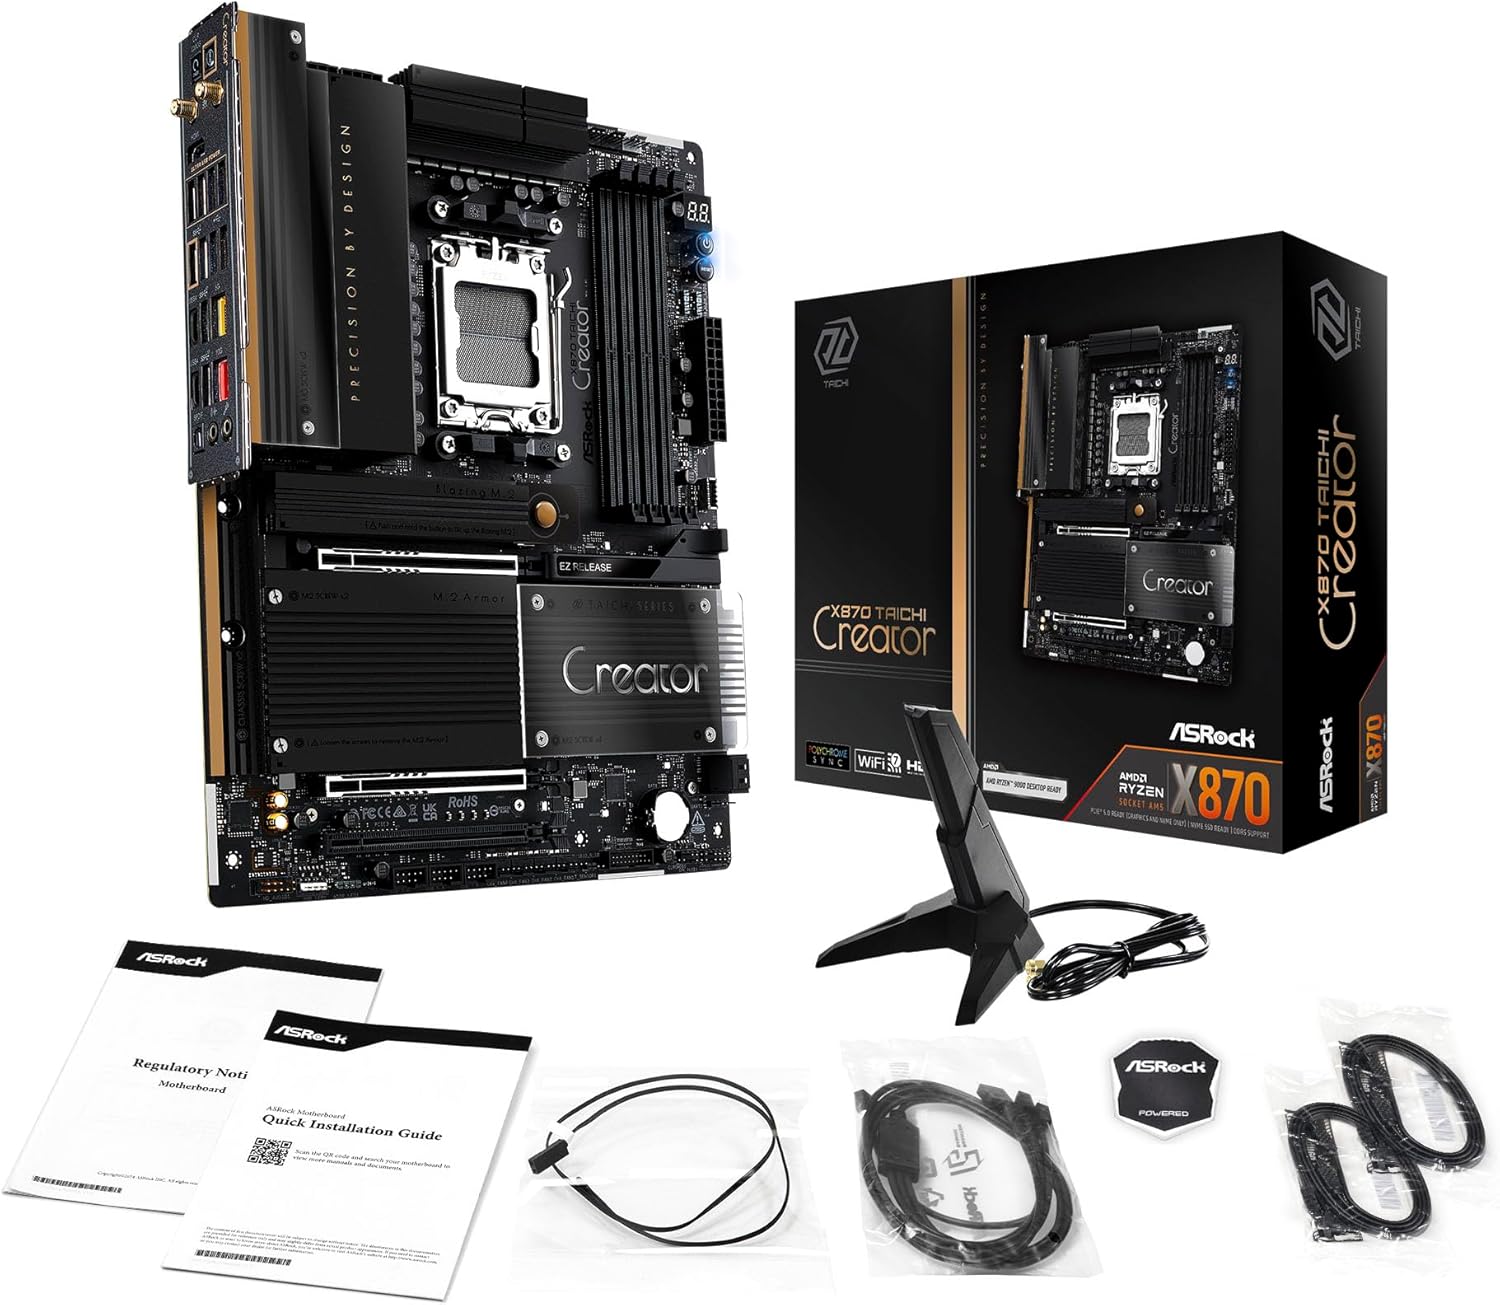
Image: The ASRock X870 Taichi Creator Motherboard shown alongside its retail packaging and various accessories, including cables, documentation, and a graphics card holder.
4. Konfigurimi dhe instalimi
Follow these steps for proper installation of your motherboard and its components.
4.1. CPU Installation (Socket AM5)
- Gjeni prizën e CPU-së AM5 në pllakën amë.
- Gently lift the CPU retention lever.
- Align the triangular mark on your AMD Ryzen processor with the corresponding mark on the socket.
- Carefully place the CPU into the socket without applying force.
- Lower the retention lever until it clicks into place, securing the CPU.

Imazh: Një nga lart poshtë view of the ASRock X870 Taichi Creator Motherboard, highlighting the central AM5 CPU socket and surrounding components like VRMs and RAM slots.
4.2. Instalimi i Memories (RAM)
The motherboard supports 4 x DDR5 DIMM slots for dual-channel memory technology.
- Hapni kapëset në të dy skajet e vendit DIMM.
- Vendosni prerjen në modulin e memories DDR5 me çelësin në vendin DIMM.
- Futeni modulin e memories fort në vend derisa kapëset të fiksohen në vendin e tyre.
- For dual-channel configuration, refer to your motherboard manual for recommended slot pairing.
4.3. Instalimi i Pajisjes së Ruajtjes së të Dhënave
The motherboard features M.2 slots and SATA3 ports for storage.
4.3.1. Instalimi i SSD-së M.2
The board includes 1 Ultra M.2 (PCIe Gen3x4), 1 Hyper M.2 (PCIe Gen4x4), and 2 Blazing M.2 (PCIe Gen5x4) slots.
- Locate the desired M.2 slot and remove the M.2 heatsink if present.
- Vendosni SSD-në M.2 në vend në një kënd prej 30 gradësh.
- Gently push down the SSD and secure it with the provided M.2 screw or standoff.
- Reattach the M.2 heatsink for optimal thermal performance.
4.3.2. SATA Device Installation
Connect SATA storage devices (HDDs/SSDs) to the 4 SATA3 ports using SATA data cables.
4.4. Instalimi i Kartës PCIe
The motherboard provides 2 PCIe 5.0 x16 (x8/x8) slots and 1 PCIe 3.0 x16 slot.
- Select an available PCIe slot.
- Hiqni mbulesën përkatëse të vendit të zgjerimit nga kutia e kompjuterit tuaj.
- Align your PCIe card with the slot and press down firmly until it is seated correctly.
- Siguroni kartën me një vidë në kutinë e PC-së.
4.5. Lidhjet e energjisë
Connect the 24-pin ATX power connector and the 8-pin (or 4+4-pin) CPU power connector from your power supply unit (PSU) to the corresponding ports on the motherboard.
4.6. Lidhjet e panelit të përparmë dhe të pasme të hyrjeve/daljeve
Connect your PC case's front panel connectors (power button, reset button, USB ports, audio jacks) to the appropriate headers on the motherboard. Connect peripherals to the rear I/O panel.

Imazh: Një pamje nga afër view of the rear I/O panel of the ASRock X870 Taichi Creator Motherboard, showing various ports including USB, HDMI, Ethernet, and audio jacks.
5. Udhëzimet e funksionimit
5.1. Nisja fillestare dhe konfigurimi i BIOS/UEFI-t
- Pasi ta keni montuar kompjuterin, lidhni monitorin, tastierën dhe mausin.
- Power on your system. During startup, repeatedly press the Del or F2 çelësin për të hyrë në programin e konfigurimit BIOS/UEFI.
- Configure boot order, enable XMP/EXPO for memory, and adjust other settings as needed.
- Save changes and exit the BIOS/UEFI. The system will restart.
5.2. Instalimi i shoferit
After installing your operating system, install the necessary drivers for the motherboard components. These can typically be found on the ASRock support website or the included driver CD/USB drive.
- Drajverët e Çipsetit
- LAN Drivers (10Gbps, 5Gbps)
- Wi-Fi 7 + Bluetooth Drivers
- Drajverët audio (Realtek ALC4082)
- Drejtues USB
6. Mirëmbajtja
6.1. Pastrimi
Regularly clean your PC to prevent dust buildup, which can lead to overheating. Use compressed air to remove dust from fans, heatsinks, and other components. Ensure the system is powered off and unplugged before cleaning.
6.2. Përditësimet e BIOS-it
Kontrolloni periodikisht ASRock-un website for BIOS/UEFI updates. Updates can improve system stability, add support for new CPUs, or fix bugs. Follow the instructions provided by ASRock carefully when performing a BIOS update.
7. Troubleshooting
Nëse hasni probleme, referojuni hapave të zakonshëm të mëposhtëm për zgjidhjen e problemeve:
- Pa fuqi: Ensure all power cables (24-pin ATX, 8-pin CPU) are securely connected. Check your PSU and wall outlet.
- Pa shfaqje: Verify that your monitor is connected to the correct graphics output (dedicated GPU or integrated graphics). Reseat your graphics card and RAM modules.
- Paqëndrueshmëria e sistemit: Check CPU and GPU temperatures. Ensure RAM is properly seated and configured (XMP/EXPO settings). Update drivers and BIOS.
- Rikthim në BIOS: The motherboard features a BIOS Flashback button on the rear I/O panel. This allows you to update the BIOS without a CPU or RAM installed. Refer to the ASRock webfaqe interneti për udhëzime të hollësishme se si të përdorni këtë funksion.
- Pastro CMOS: If your system fails to boot after changing BIOS settings, you can clear the CMOS to reset BIOS settings to default. Locate the 'CLR CMOS' button or jumper on the motherboard (often near the rear I/O).
8. Specifikimet
| Veçori | Specifikimi |
|---|---|
| Markë | ASRock |
| Emri i modelit | X870 |
| Numri i modelit të artikullit | 90-MXBTE0-A0UAYZ |
| Socket CPU | Priza AM5 |
| Procesorë të pajtueshëm | AMD Ryzen 9000, AMD Ryzen 8000, AMD Ryzen 7000 Series |
| Lloji i çipsetit | AMD X870 |
| Teknologjia e memories RAM | DDR5 |
| Lojëra elektronike për kujtesë | 4 x DDR5 DIMM Slots (Dual Channel, up to 8000+(OC), 256GB max) |
| Dalja e Grafikëve | 2 x USB4 Type-C (up to 8K 30Hz), 1 x HDMI 2.1 (up to 4K 120Hz) |
| Slots PCIe | 2 x PCIe 5.0 x16 (x8/x8), 1 x PCIe 3.0 x16 |
| Magazinimi | 4 x SATA3, 1 x Ultra M.2 (PCIe Gen3x4), 1 x Hyper M.2 (PCIe Gen4x4), 2 x Blazing M.2 (PCIe Gen5x4) |
| LAN | 10Gbps LAN, 5Gbps LAN |
| LAN pa tela | 802.11be Wi-Fi 7 + Bluetooth |
| Audio | Kodek Audio HD Realtek ALC4082 7.1 CH, Audio Nahimic |
| Porta USB (Prapa) | 2 x USB 2.0, 6 x USB 3.2 Gen1, 2 x USB 3.2 Gen2, 2 x USB4 Type-C |
| Porta USB (Përpara) | 6 x USB 2.0, 4 x USB 3.2 Gen1, 1 x USB 3.2 Gen2x2 Type-C |
| Faktori i formës | ATX |
| Power Phase Design | 18+2+1 Power Phase, 80A SPS |
9. Informacioni i garancisë
ASRock motherboards typically come with a limited manufacturer's warranty. The duration and terms of the warranty may vary by region and retailer. Please retain your proof of purchase for warranty claims. For detailed warranty information, refer to the official ASRock webfaqen e internetit ose kontaktoni pikën tuaj të blerjes.
10. Mbështetje Teknike
For technical assistance, driver downloads, BIOS updates, and further product information, please visit the official ASRock support webfaqe:
Gjithashtu mund të kontaktoni shërbimin ndaj klientit të ASRock direkt përmes tyre webfaqe interneti për mbështetje të personalizuar.


